Alright, let's build a firewood shed! You know, one of those classic, sturdy structures that'll keep your wood dry and ready to burn all winter long. We're talking about a simple, no-frills kind of build here, perfect for the DIY enthusiast.
First things first: planning your shed
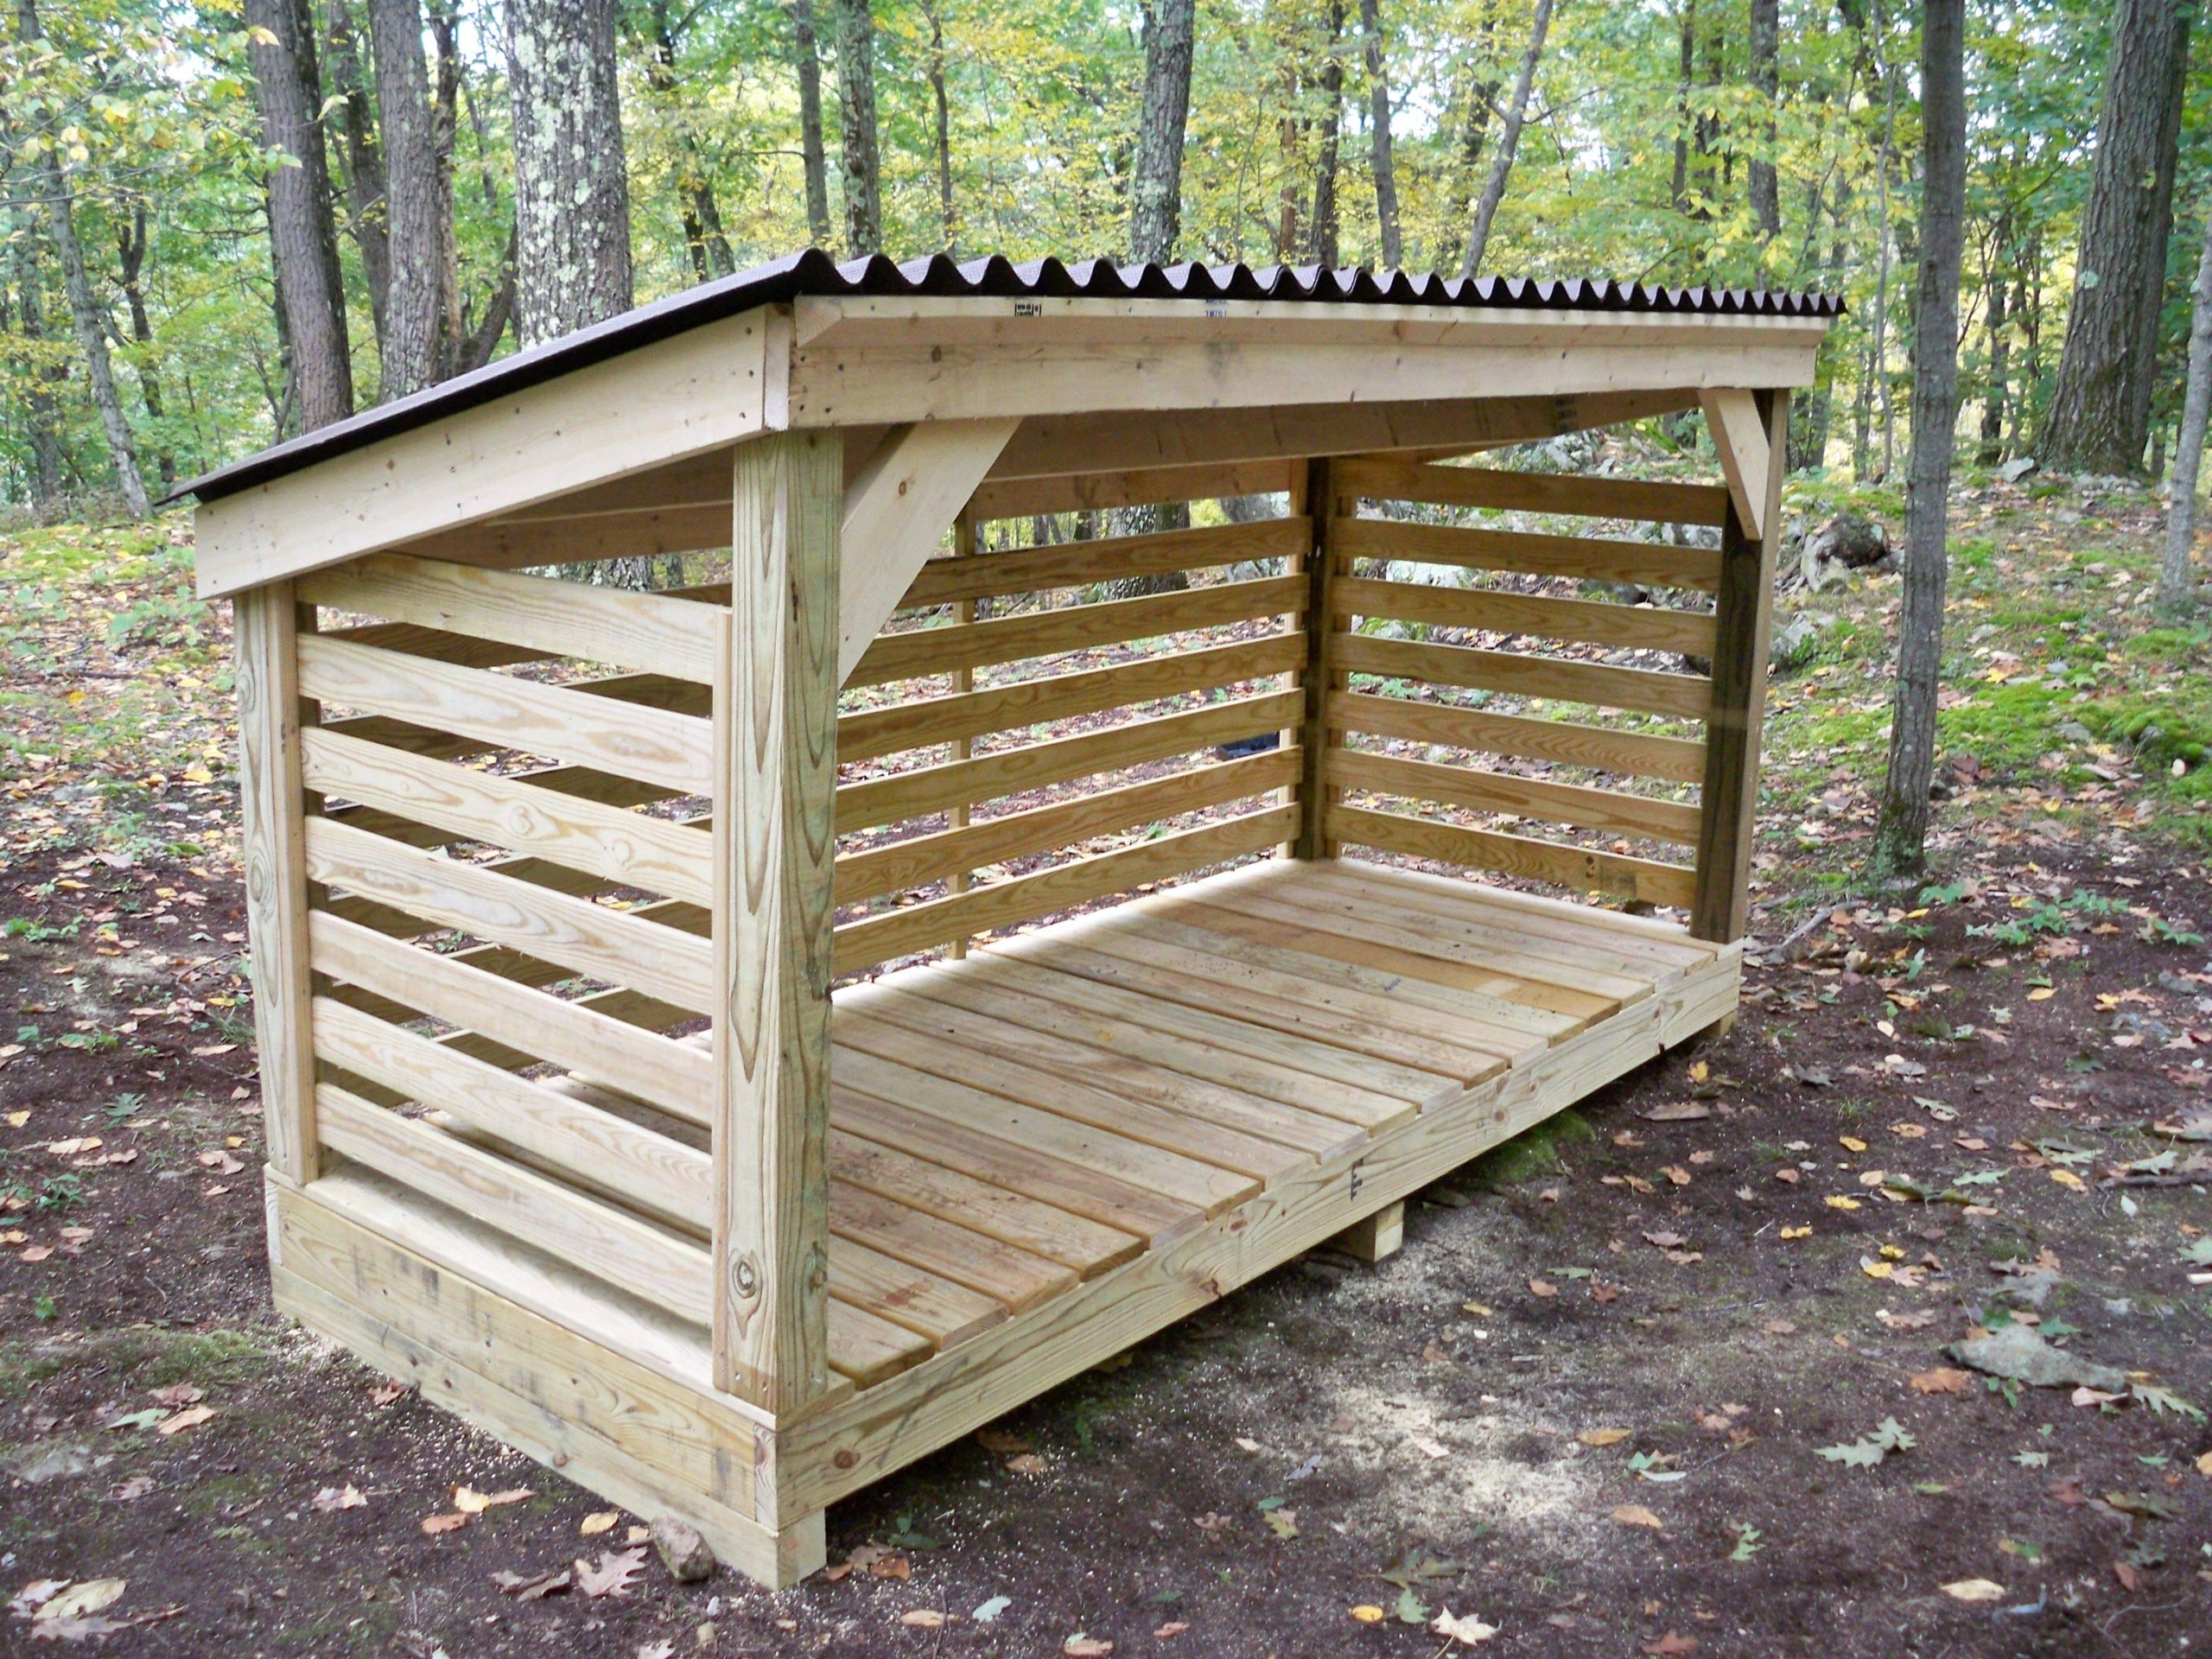
Think about where you want to put this thing. You'll want it close to your house, but also somewhere with good drainage. Nobody likes a soggy firewood pile! Next, decide on the size. How much wood do you need to store? A 4'x8' shed is pretty standard, but maybe you need something bigger, or smaller, depending on your needs.
Materials:
Pressure-treated lumber: This is your foundation, the base of the shed. You'll need 4x4s for the posts and 2x6s for the floor joists.
Plywood: This will form the floor of your shed.
Framing lumber: 2x4s for the walls and roof framing.
Roofing materials: We're keeping it simple, so let's go with asphalt shingles.
Siding: Choose whatever suits your style, be it wood, vinyl, or metal.
Door: A simple, pre-hung door will do the trick.
Hardware: Screws, nails, hinges, door handle, etc.
Paint or stain: To protect your wood and make it look fancy.
Tools:
Saw: Circular saw, table saw, or a handsaw will do the job.
Drill: For putting in screws and making pilot holes.
Level: To make sure everything is, well, level.
Hammer: For hammering nails.
Tape measure: To make sure everything is measured accurately.
Safety glasses: Because you're dealing with wood and tools, safety is key.
Now, let's get down to the nitty-gritty:
Step 1: Foundation
First things first, you'll need to dig four holes in the ground for your posts. Make them deep enough to be below the frost line, which varies depending on where you live. We're talking about 2-3 feet down, usually.
Now, place your pressure-treated 4x4 posts in those holes and fill them with concrete. Make sure the posts are plumb (perfectly vertical) using a level. Let the concrete set for at least 24 hours.
Once the concrete is cured, build your floor joists. These are the 2x6s that will support the floor of your shed. Attach them to the posts using galvanized nails or screws.
Step 2: Building the floor
Now, we're laying down that plywood floor. Cut the plywood to size and lay it on top of the floor joists. You'll need to screw it down into the joists using 2-inch screws.
Don't forget to leave an overhang around the edges of your floor so it's slightly bigger than the perimeter of your post frame. This creates a little bit of a "lip" to hold the wall panels.
Step 3: Erecting the walls
Cut your 2x4s to size for the wall framing. Remember to create openings for your door and any windows you might want.
Attach the wall framing to the floor using 2-inch screws or nails. Make sure to create bracing for the wall panels and to ensure the walls are plumb and square using a level.
Step 4: Installing the roof
This is the fun part! Cut your 2x4s to size for the roof rafters. Again, make sure they're plumb and square using a level, and attach them to the top of the walls using 2-inch screws or nails.
If you're feeling adventurous, you can add some extra support for the roof using a ridge board, which runs along the top of the rafters.
Step 5: Sheathing the walls and roof
Now, we're covering up the frame. Cut your plywood sheets to fit the walls and roof.
Attach the plywood to the frame using 2-inch screws or nails. You can use construction adhesive on the plywood sheets before nailing or screwing them to add extra strength and prevent air leaks.
Step 6: Roofing
Get those shingles up there! Start by installing the underlayment on the roof. This is a waterproof layer that goes under the shingles.
Then, carefully install the shingles according to the manufacturer's instructions.
Step 7: Siding
Cover up those plywood walls with siding. You can use wood, vinyl, or metal. Make sure to follow the manufacturer's instructions for installation.
Step 8: Doors and windows
Now, let's get those doors and windows in place. Install the door using hinges and a door handle.
If you're including windows, use the right size trim and make sure they're properly installed.
Step 9: Finishing touches
Now, paint or stain your shed. This will help protect the wood and make it look beautiful.
Make sure to seal any cracks or gaps in the walls and roof to prevent leaks.
That's it! You've built a firewood shed!
Remember, this is a basic guide. There are tons of variations and customizations you can do to make your shed unique. Don't be afraid to experiment and add your own personal touches.
And most importantly, have fun! Building a shed is a great way to learn new skills, get some exercise, and create something useful for your home. Enjoy the process and the satisfaction of completing a project with your own two hands! And who knows, maybe you'll inspire your neighbors to build their own!


No comments:
Post a Comment